Importing and Exporting
Once you've created your perfect Raspberry Pi setup, along with writing it to an SD card, you can also save it into a file on your computer to save for later, or share with others. PiBakery then allows you to import the saved configuration onto new and existing SD cards to apply your perfect configuration to them.
Perfect for online tutorials, code clubs and schools
Exporting a configuration
1. Open PiBakery
To export a configuration, you need to already have blocks on your workspace. These blocks can either be dragged out from the toolbox of PiBakery, or you can insert an SD card already made with PiBakery to edit its configuration.
2. Export

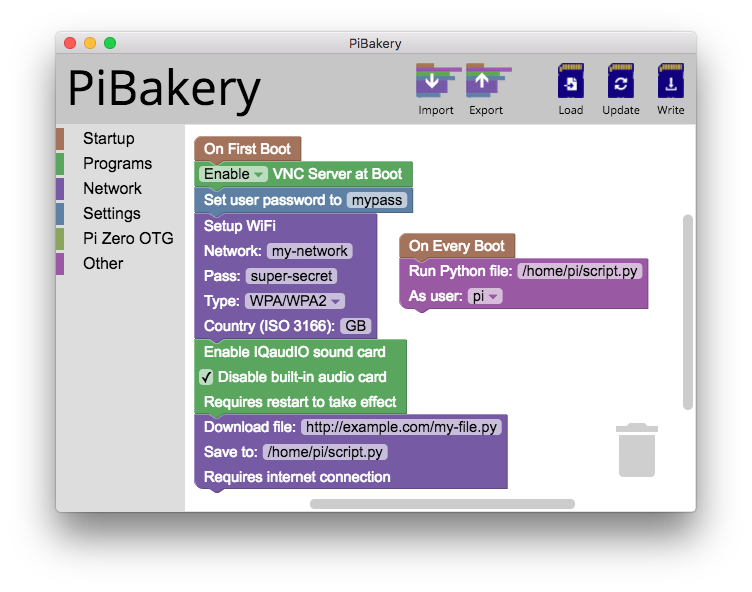
At the top right of PiBakery, along with the Write button, there is also two other buttons: Export and Import.
Once you have set the configuration using the blocks that you want, click on the Export button.
This will ask you to choose a save location for your setup file. Save it anywhere you want. This file can then be shared with others and imported back into PiBakery to allow other people to use your configuration to setup their Raspberry Pi.
Importing a configuration
1. Open PiBakery
To import a configuration, you'll need two things - PiBakery and the configuration file.
Keep in mind that when you import a configuration, all existing blocks on your workspace will be deleted. If you want to save your current blocks, export them as another configuration.
2. Import
Next to the Export button there is a similar button labeled Import. Clicking on this will allow you to choose a configuration file to import into PiBakery.
You can import a configuration to use on a new SD card, or for an existing SD card. However, if you want to apply the configuration on an existing SD card, you'll need to insert that SD card first, import the configuration, and then click Update.